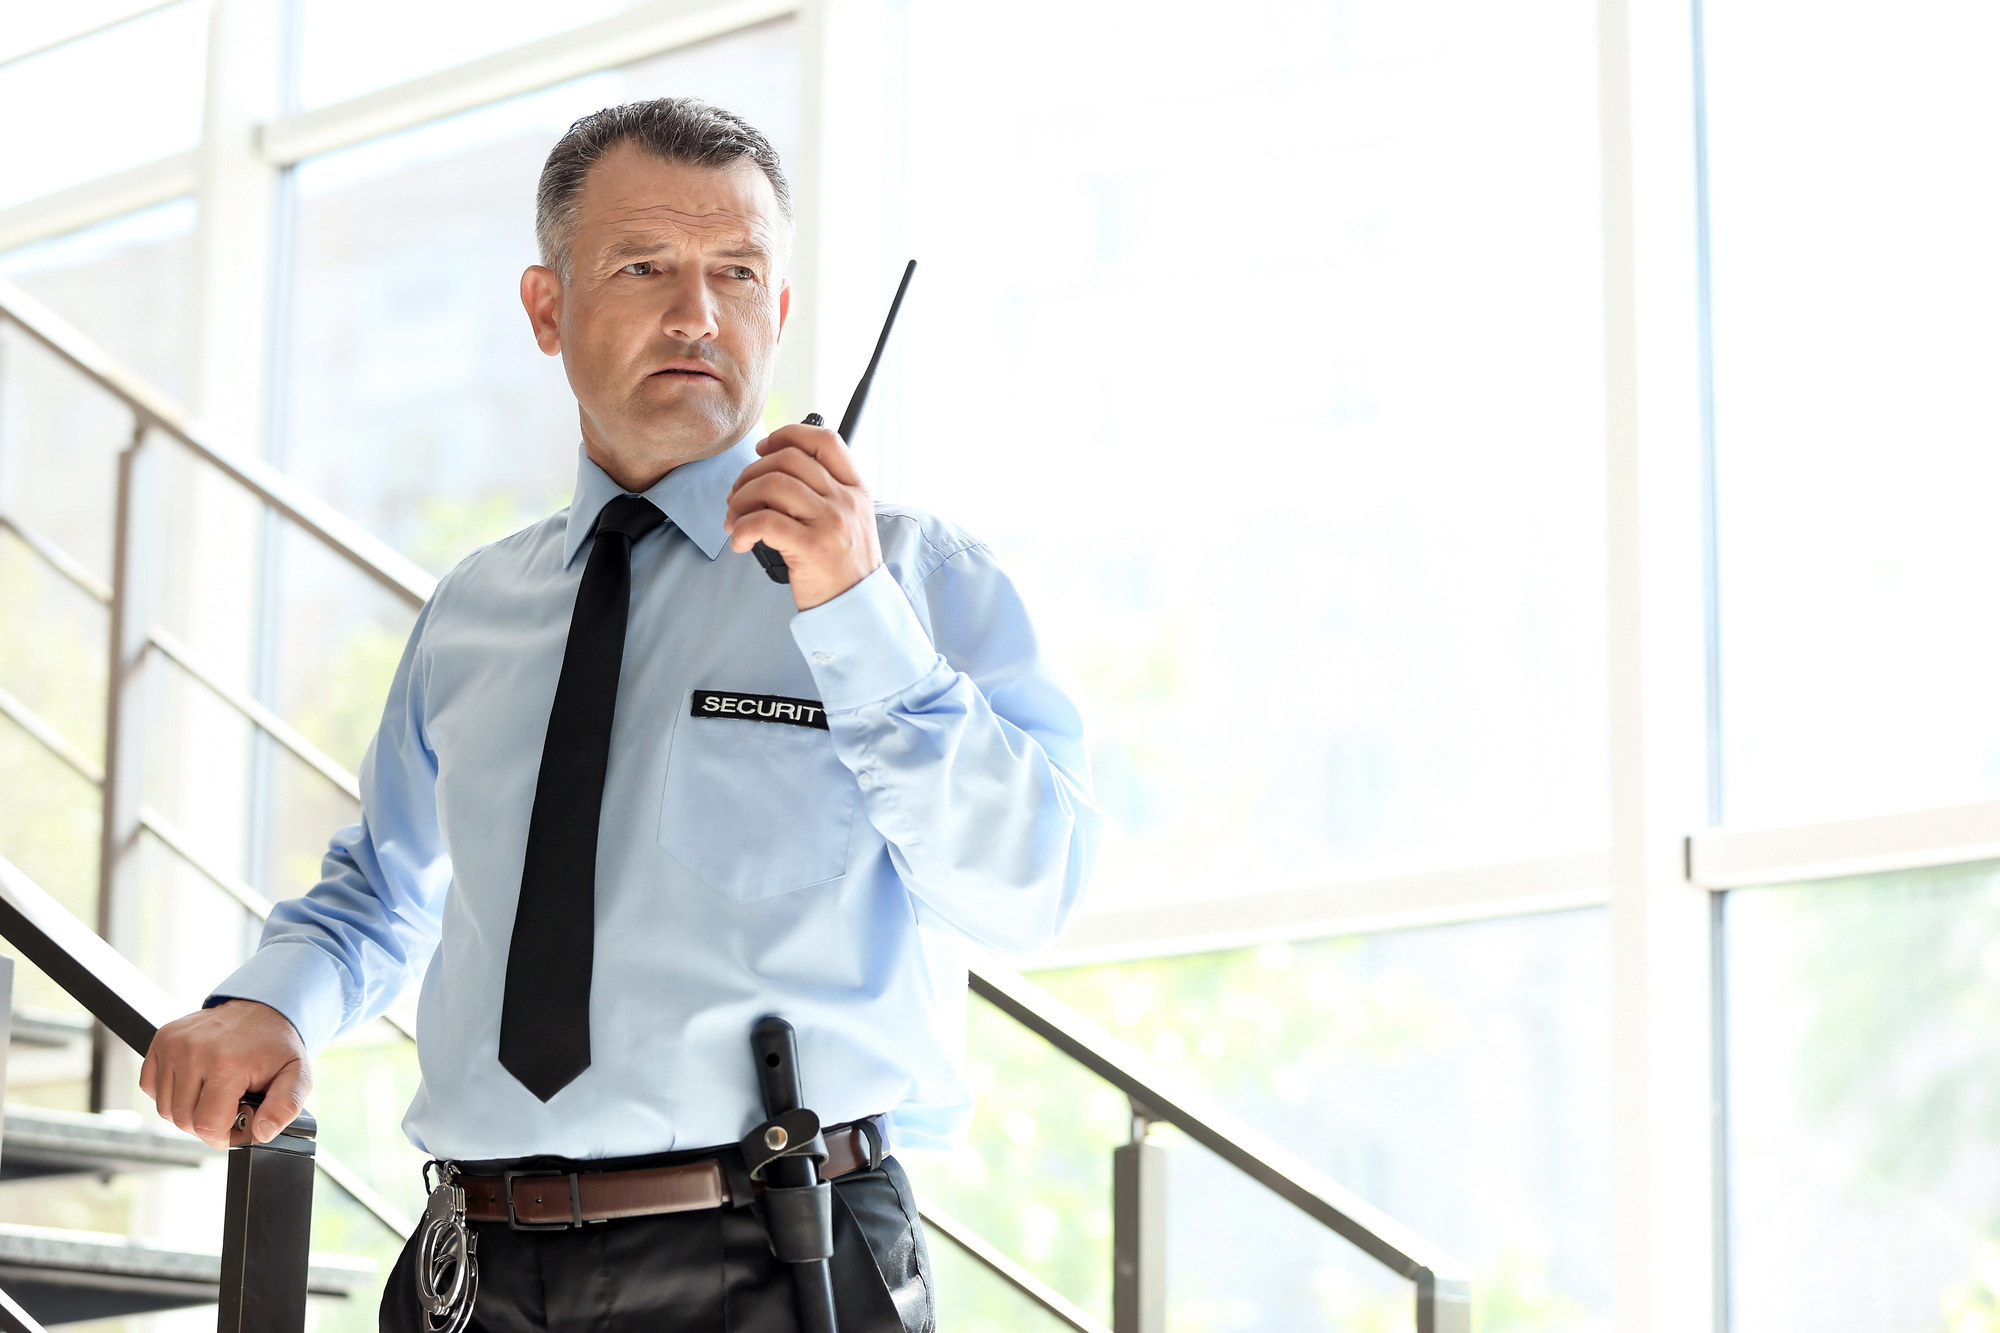
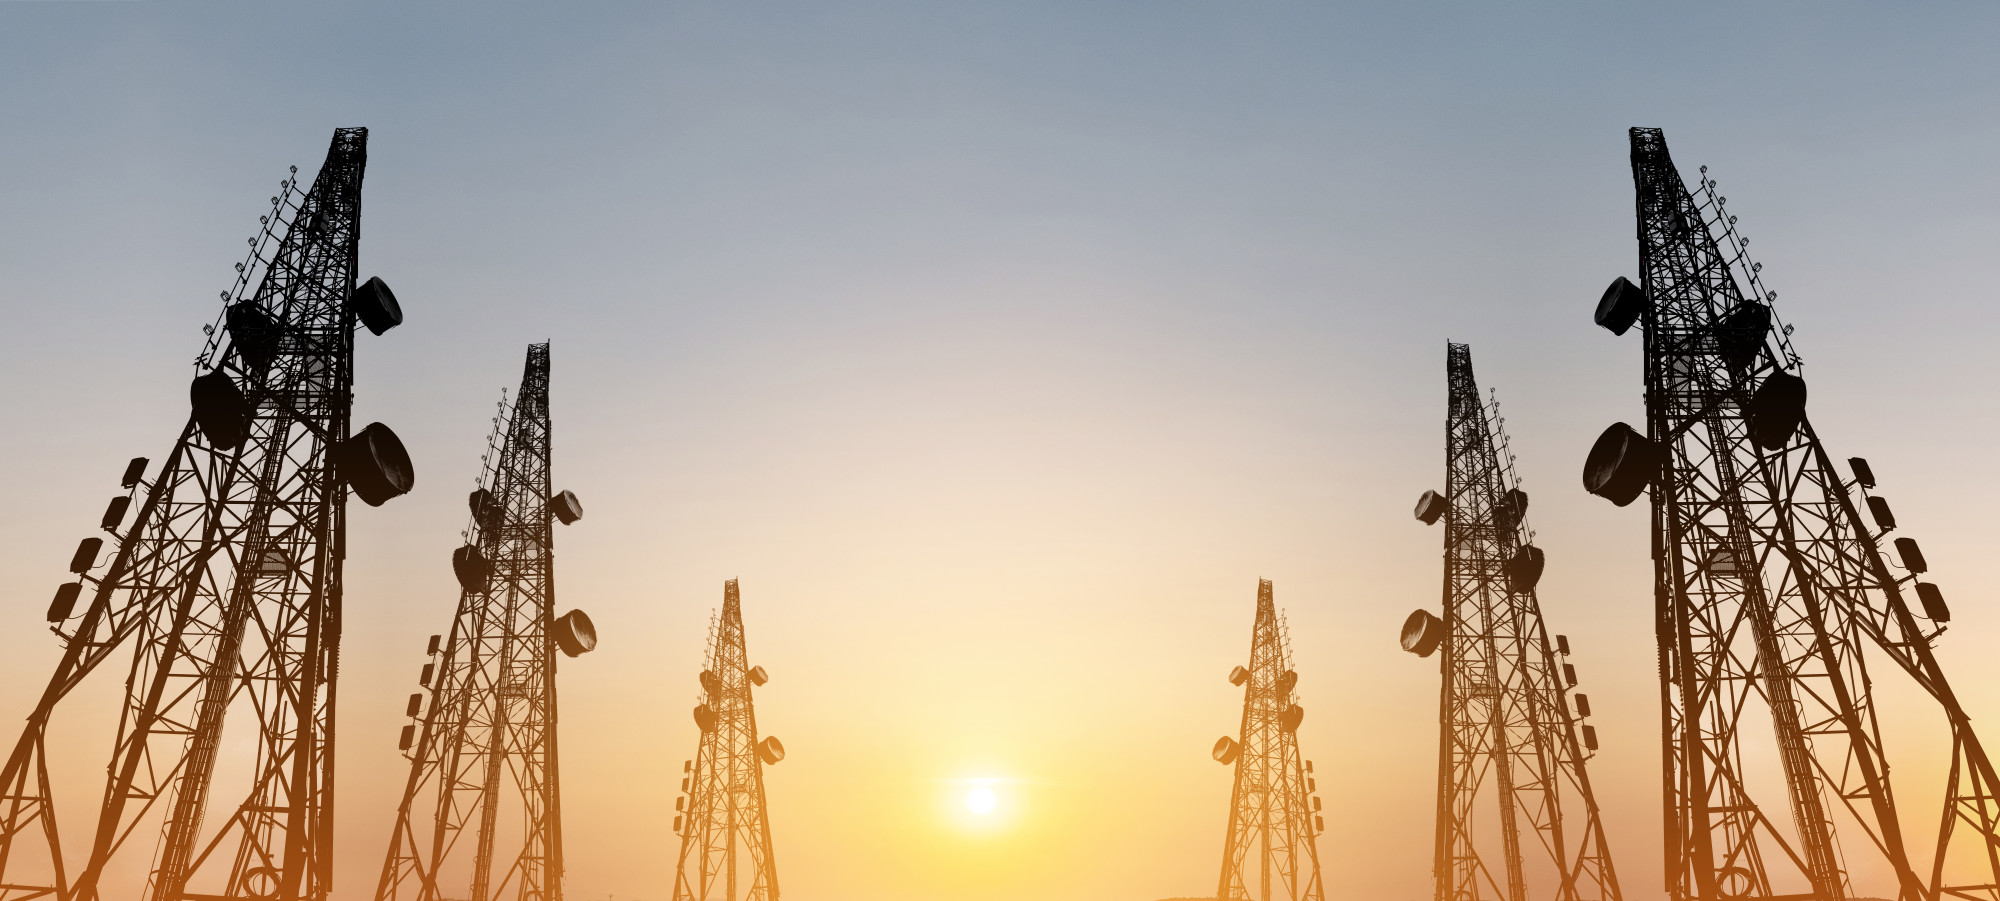
According to the National Fire Protection Association, every 23 seconds, a fire department responds to a fire somewhere in the country. First responders, whether they’re law enforcement officers, domestic firefighters, or wildland firefighters, understand that they need reliable communication devices to be safe.
So how do you know if the communication device you’re holding on your hip or in your hand will do the job you need it to? It’s a first responder’s lifeline. If it fails, the results can be deadly.
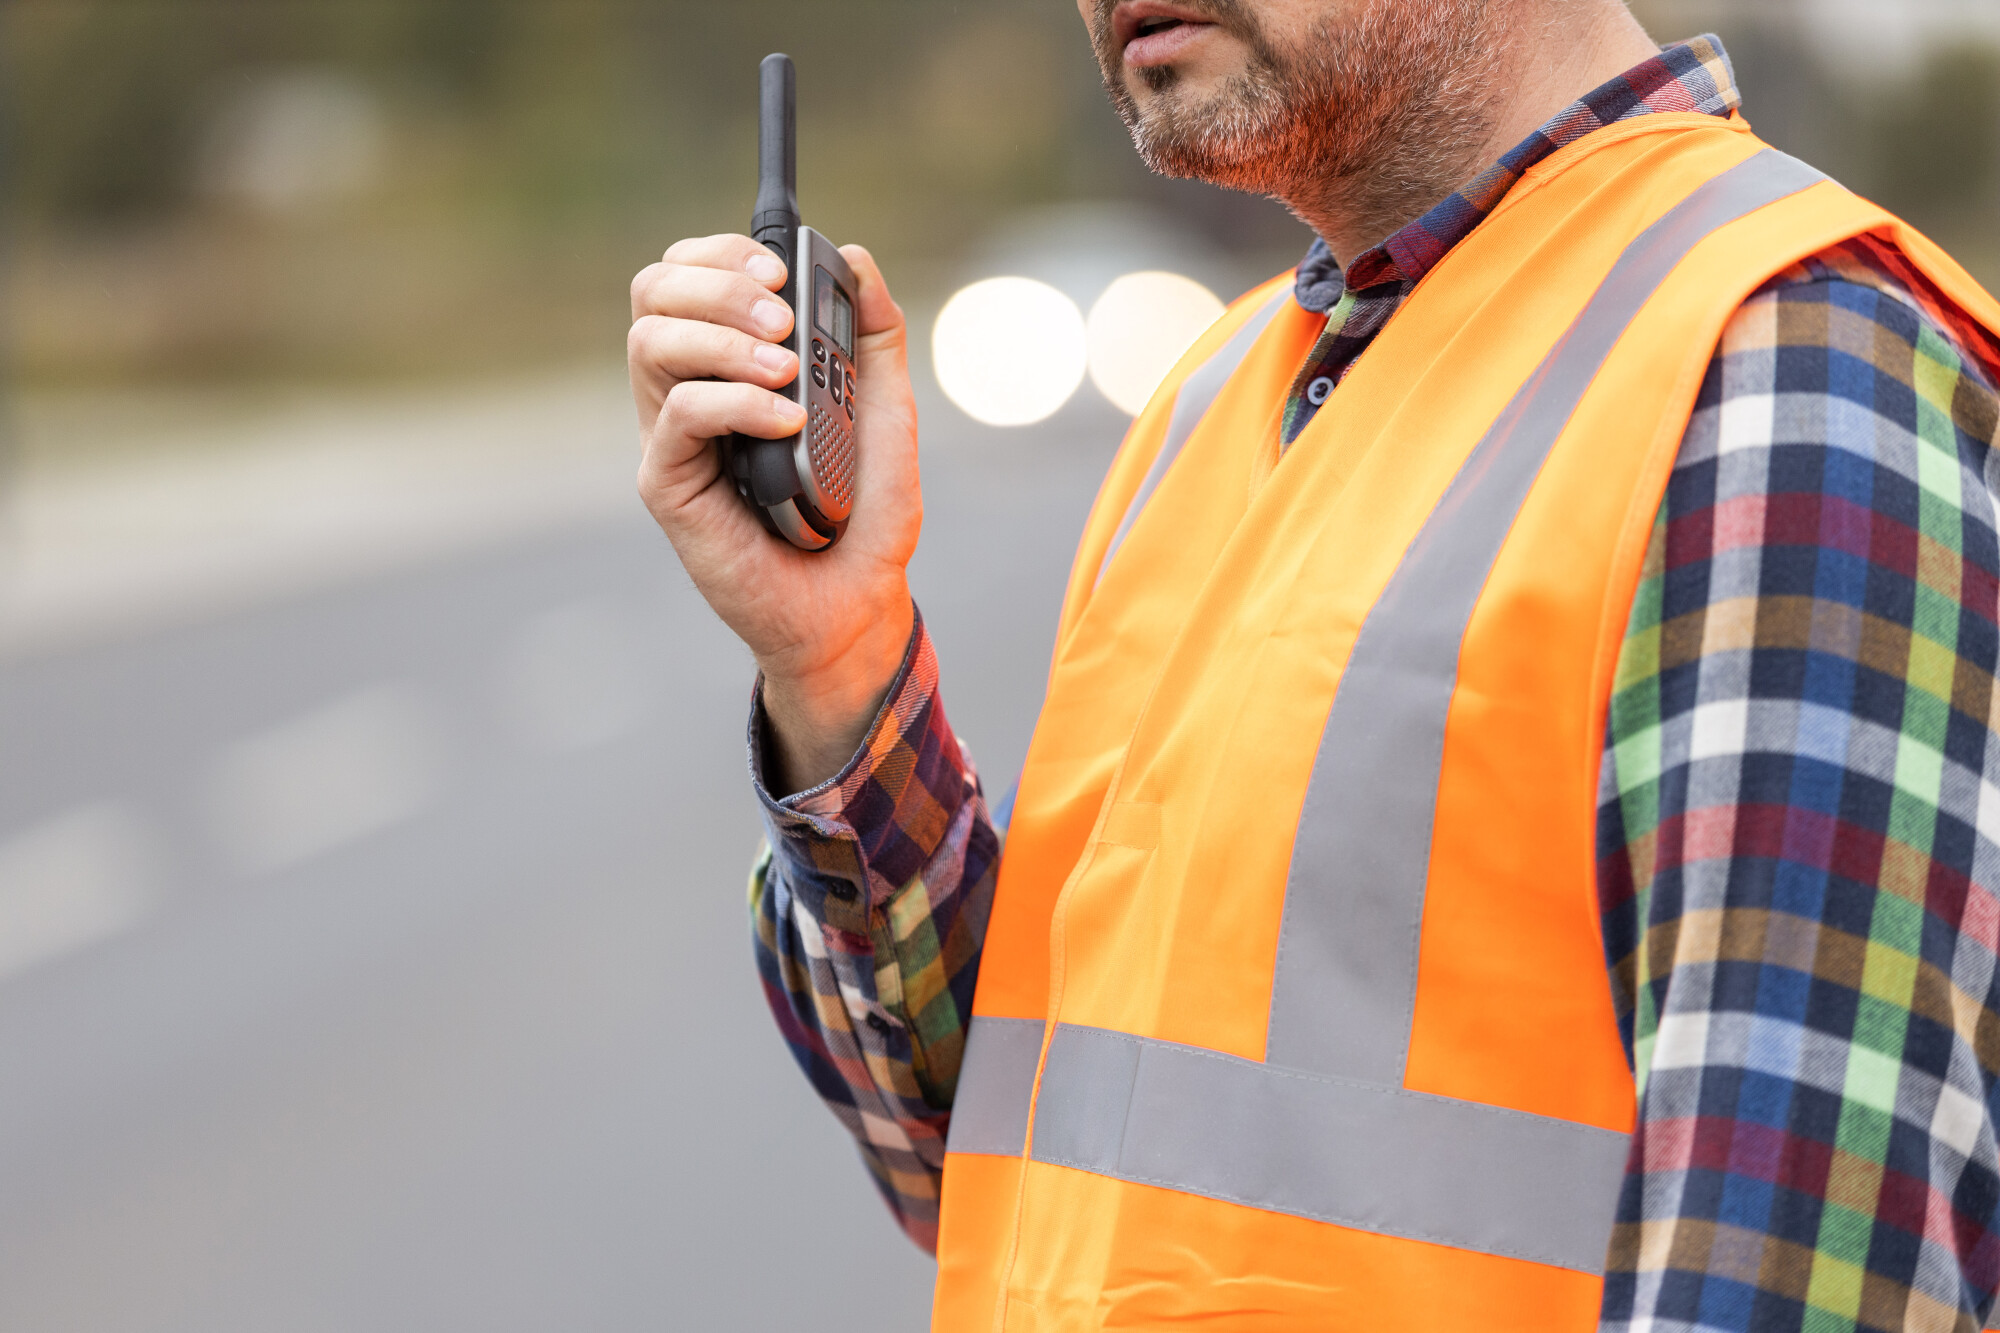
Firefighters across the nation have chosen the BKR 5000, a portable digital radio that they can rely on. This two-way radio performs consistently and ultimately saves lives. If your firefighting company or police force has recently chosen the BKR 5000, you must understand how your radio works.
By the time you finish reading this article, you will understand the basics of the BKR 5000 from how to charge the battery to how to set up a command station.
BKR 5000 Tiers
The BKR 5000 comes in three different tiers. Each one comes with a belt clip, one base frequency, wi-fi capabilities, Bluetooth connections, GPS, and encryption as well as a top display. Generally speaking, all of the tiers come with the following specs:
- Advanced key system
- USB PC programmable
- Radio authentication (LLA)
- Ruggedized design with enhanced gorilla glass color display
- Single-unit smart charter
- 5000 MAH LI smart battery
- P25 Phase 1 & 2 trunking
- P25 Conventional
- DES & AES FIPS140-2 L2 encryption
- Simulcast operation
- Integrated GPS/Location services
The tiers differ in a few smaller but critical areas. Here is the breakdown of what each tier offers.
Tier 1
The Tier 1 Radio comes with all the features of the BKR5000, P-25 trunking, encryption, etc. just with out any frills, no top or front display, and no keypad.
Tier 2
The Tier 2 BKR 5000 radio is what most people think of as a normal portable radio. It has the top display and the navigational keypad only, still wtih all the functions and features of the BKR5000.
The Tier 2 radio can be used on any frequency for personal, commercial, or public safety Portable radio frequencies.
The biggest difference between the Tier 1 and Tier 2 radios is the keypad and the top display.
Tier 3
The Tier 3 radio is similar to the Tier 2 radio, but it also has the full keypad, as well as the top and front display. It has no power limit or frequency limit. It also can use repeaters.
Like all tiers of the BKR5000 it has trunking capabilities. This means you and your company can now create a command center with multiple channels. It also has the full P-25 tier 1 and two capabilities, Phase 1 & 2 encrytion, bluetooth, GPS and many other features are standard. These radios all come with a 5 year warranty.
Begin With the Battery
When you break open your new BKR 5000 radio from BK Technologies, you should begin your inspection and preparation with the battery and battery pack.
Most BKR radios come with batteries that are partially charged or uncharged for safety reasons. So when you receive your BKR 5000, first charge your battery with a qualified BKR charger. Only use BK Technologies-approved batteries to ensure your radio runs properly.
To install the battery, begin by turning the radio off. Then align the battery with the radio as shown. Push your battery up into the radio until there release tabs click into place.
Caring For Your Battery
Keep your charging base and battery pack clean. A dirty battery pack or charging base will compromise the quality of the charge. So every time you prepare to charge your battery, clean the dirt and debris from the battery pack.
The BKR0101 battery pack is 4900 Mah Li-Ion and will work up to 18 hours on a single charge.
Attach the Antenna
If you attempt to transmit without an antenna, you may be able to transmit successfully a few times. However, transmitting without an antenna consistently will ultimately leave you with a damaged radio. Use only approved BKR antennas on your BKR 5000 radios.
When you choose to use a mismatched antenna or non-qualified antenna, your BKR 5000 will not work as well. If you bend, break, or damage your antenna, replace it as soon as possible. You can find BKR antennas along with other BKR 5000 accessories at qualified retailers.
To install the antenna, insert the radio’s antenna connector into the threaded connector of your antenna. Then turn the antenna clockwise until it sits firmly in the radio.
To remove the antenna, hold the base of the antenna. Then turn the antenna counterclockwise until it releases.
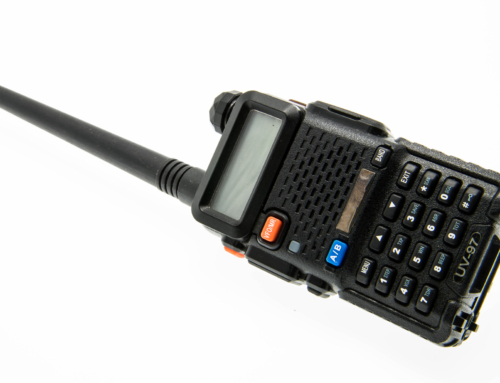
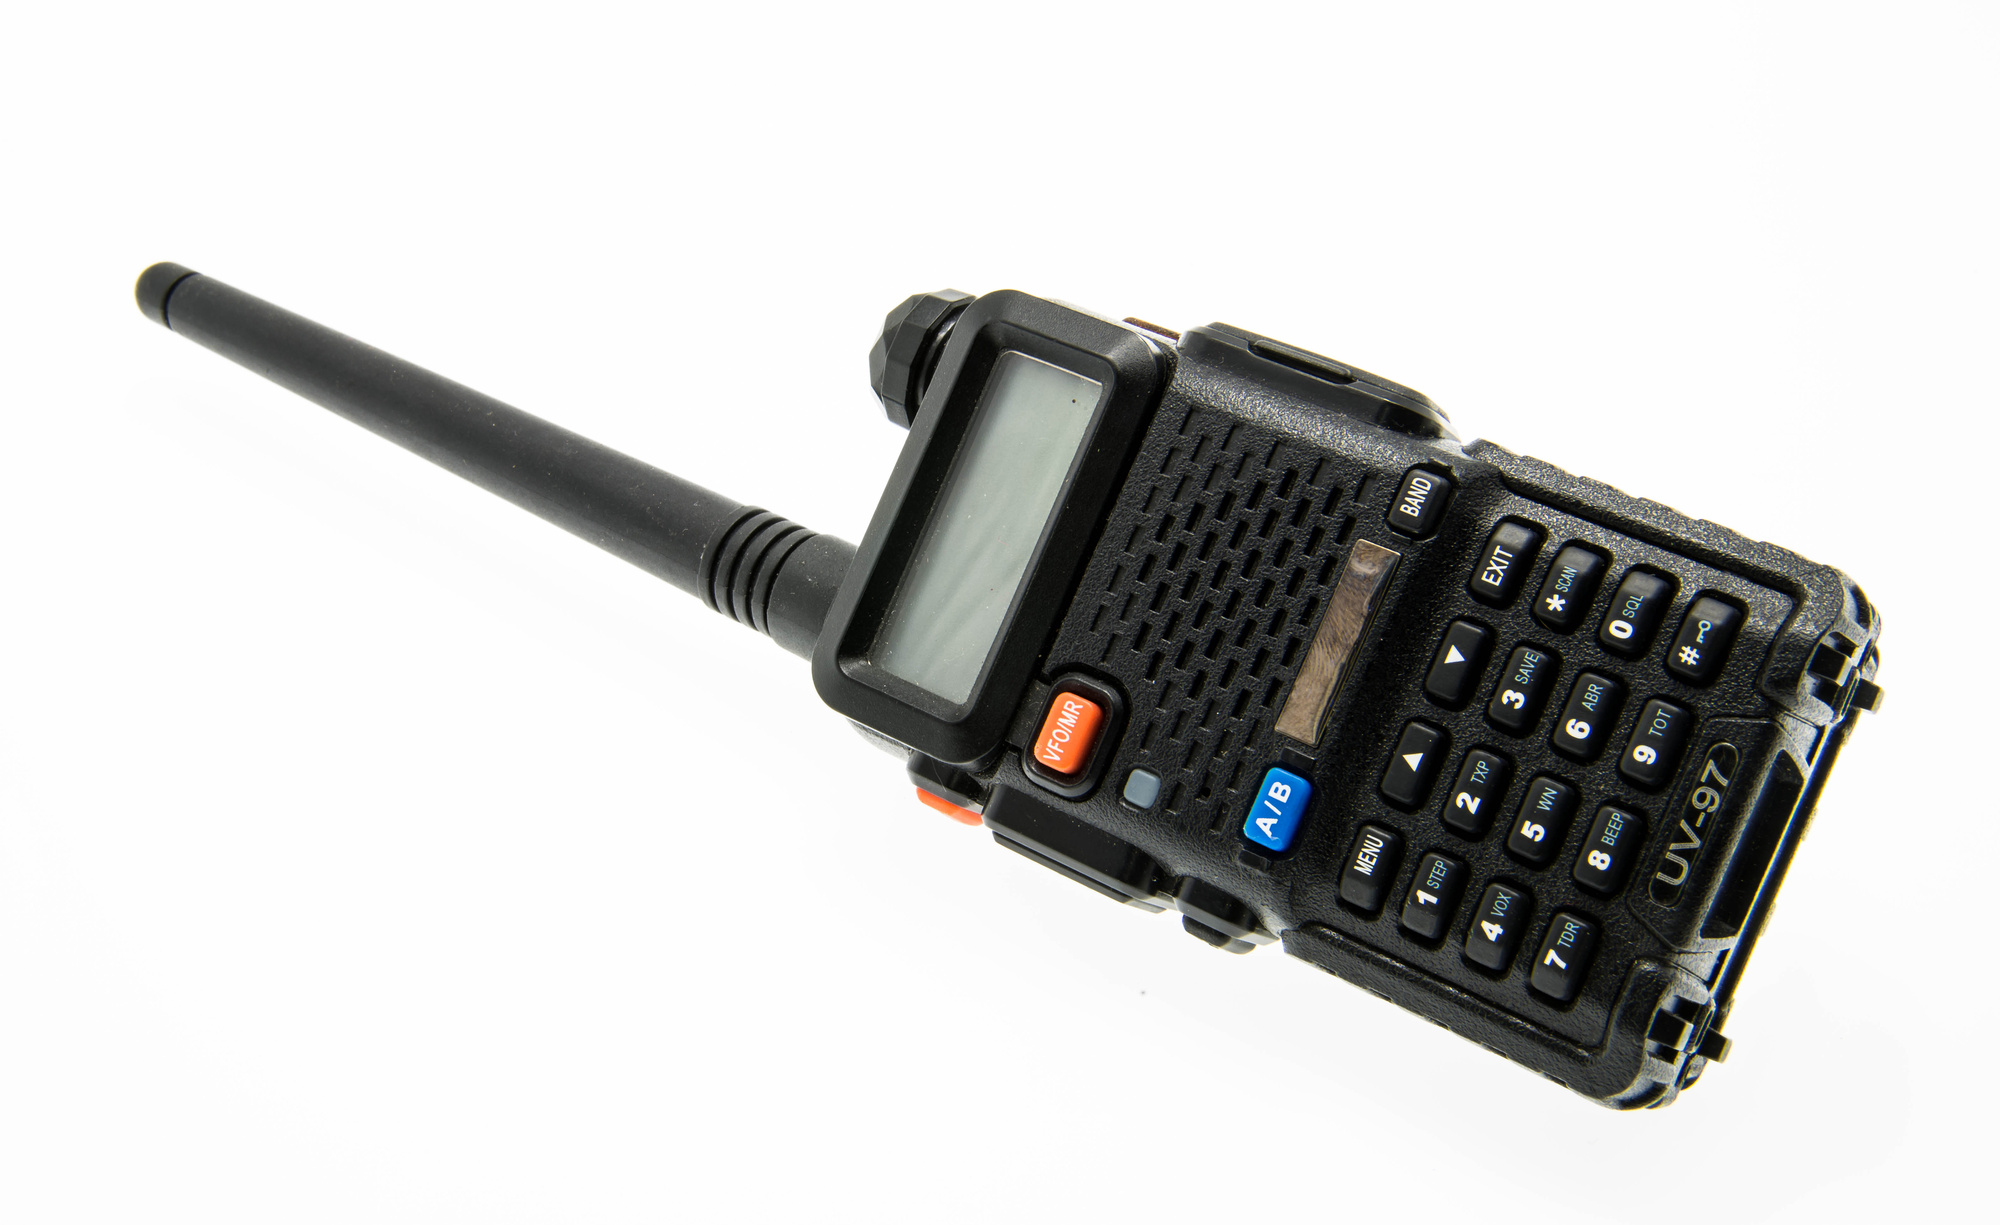
Know Your Controls
When you receive your first BKR 5000, you may feel overwhelmed by the controls. If you’re used to portable communication devices, you will quickly acclimate to the BKR 5000. Its controls and features look much like many other radios.
Here are the basics that you need to understand about the BKR 5000 controls and their location
- On/Off and volume knob on the top of the radio
- Channel/Zone select knob in the middle top of the radio
- 3 Programmable buttons on the left side
- Push-to-talk button on the left side
- A keypad on the front
- Four programmable buttons above the keyboard
- Accessory connector on the right
- Front display above the keypad
- A microphone on the left side above the screen
- Speaker above screen
In addition to the on/off and volume knob and the channel/zone select know, the top of the radio has the top display, antenna connector, emergency button, and collar switches.
Top Display
You can program your BKR5000 top display in RES for a variety of functions and options. You can discover the features by using the Top Display Orientation menu item. You can also use the Flip Top Display programmed button.
You will find the same Alphanumeric Label Options on the Front Display that you find on the Top Display.
Programmable Switch Buttons
The BKR5000 radio has 10 programmable control buttons and 2 programmable switches. You can program your switches, keypad, buttons, and menu items for different functions when you have selected a conventional channel or trunking.
You can program your front and side buttons by using RES. To see the program’s functions, you begin by pressing the associated button. Then you will see active functions with a highlighted background.
SCN refers to an active function, and SCN indicates an inactive status. A radio user can program one button to be the menu button. They then can use PC programming to program the other buttons.
To select from the menu, begin by pressing the programmed “menu” button. Then scroll to your desired menu item using the PREV and NEXT buttons. Press the “enter button to open your desired item.
Channel/Zone Selection
Radio operators can program the BKR5000 to have up to 5000 individual channels. You can divide these channels into zones that consist of one or more channels. You can then program the radio to access the zone or channels.
Select the channels or zones by using the channel/zone select knob. You can also use a menu item, direct keypad entry, or assigned button to select a given zone or channel.
The channel/zone selector knob’s default setting will select a channel 1 through 16 from the active zone if you program it to do so. You can then use the A/B/C/D switch to cycle through the different programmed zones. If you want a channel or zone above 16, you must access it through a keypad selection, menu, or button.
Direct Keypad Entry
You can also program your numeric keypad to select zones or channels. When you press a number, the radio will activate the channel list or zone. Then you can select the desired zone or channel and press the button marked “enter.” If you want to cancel the selection, press the button marked “escape.”
Knob and Button Operations Together
You can also use the knob and button operations together. Regardless of your knob position, you can activate a channel or zone by using the button, menu, or keypad method. When you turn your knob, the radio will ignore the keypad-selected channel and go to the channel you select with your knob.
Thus, if your knob is turned to channel 1, and you punch in channel 12, your radio will go to channel 12. If you turn your knob to channel 2, the radio will switch the operating channel from channel 12 to channel 2
Basic Radio Operation
Now that you understand the basics of channel selection and programming, it’s time to learn about basic radio operations.
Begin by turning your power on. Turn the volume knob clockwise. You will hear a beep, indicating that the radio is on.
Your LCD display will light up and show the display information of your current channel. Set your volume level to between 50 and 60 percent. When you have a signal, the left side of the display will show the signal strength and operating mode of the transmission.
RXA refers to analog transmissions. RDX refers to digital transmissions. Check your radio volume when you are not receiving a signal by putting the monitor mode in “Open Squelch.” Then adjust your volume to your comfort level.
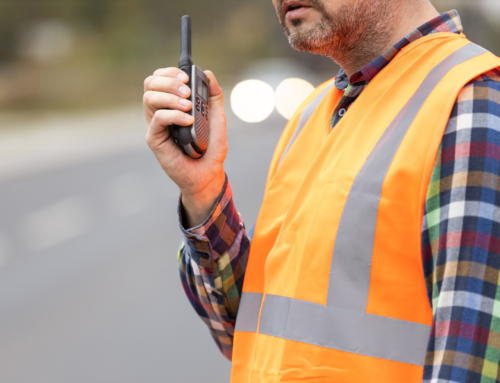
Transmitting
To transmit, press your Push-to-Talk (PTT) switch on the left side of the radio. As your radio transmits, the indicator LED will glow red, and TXD or TXA will appear on your display.
Talk in a normal voice. Put the microphone one to two inches from your mouth.
Once you’ve finished talking, release the PTT switch. If you have a long message, your radio will time you out. You will hear a tone that indicates you have five seconds left to transmit.
Five seconds after the tone, the transmitter will automatically shut off, and you will hear alert tone sounds. To continue transmitting, release the PTT switch, and then press it again and keep talking.
If your LED Transmit Indicator is not glowing and a tone sounds, your channel is busy or you are on a receive-only channel. Select a channel authorized for transmitting, and try again.
Command Zone Operation
You can use your BKR5000 portable radio for Command Zones as well as basic communication. You can program your zone as a Command Zone or a Standard Operating Zone using RES.
To build a Command Zone, you must assign the “Channel Add/Delete” function to a programmable button. To do this, begin by operating in a standard zone. Then press the “CHAN+” button to add this channel to a command zone.
You will see a list of available command zones. Use the number keys or the up/down arrows to select the zone to which you want to add the channel. Then press the “Enter” button.
When you press the “Enter” button, you copy the channel information from your first available channel slot to the selected command zone. For example, if the command zone has two channels, your newly added channel gives the command zone three channels.
Editing a Command Zone
If you want to remove a channel from a Command Zone, press the “CHAN-” button. This will remove the selected channel from the zone. When you delete a channel, you will see a momentary display that says “Channel Deleted.”
You will then see the remaining channels move up the list.
Communicate With Confidence
The BKR 5000 radio has all the features you need to create a command post for your operations. First responders such as police, domestic fire departments, and wildfire fire departments need reliable, flexible communication devices.
The transmitter has a user-friendly interface. If you’ve used a two-way radio before, you will be able to quickly learn the ins and outs of the BKR 5000. Furthermore, this radio offers a robust system that allows you to do more than just communicate with one another.
Instead, you can set up a command center with multiple channels. This allows you and your crew to communicate discreetly and purposefully. Such a setup will keep everyone in your group safer.
With proper training and radio etiquette, first responders can do their jobs much more safely with reliable radios such as the BKR 5000.
Are you looking for a quality radio system? Look into the BKR 5000. We can help you find the radio that works best for you and your crew.
Contact us today, and let us help you.


Leave A Comment
You must be logged in to post a comment.